Top 10 Simple Home Improvement Tips Every Homeowner Needs to Know
By Kelsey Moss Posted in LIFESTYLES
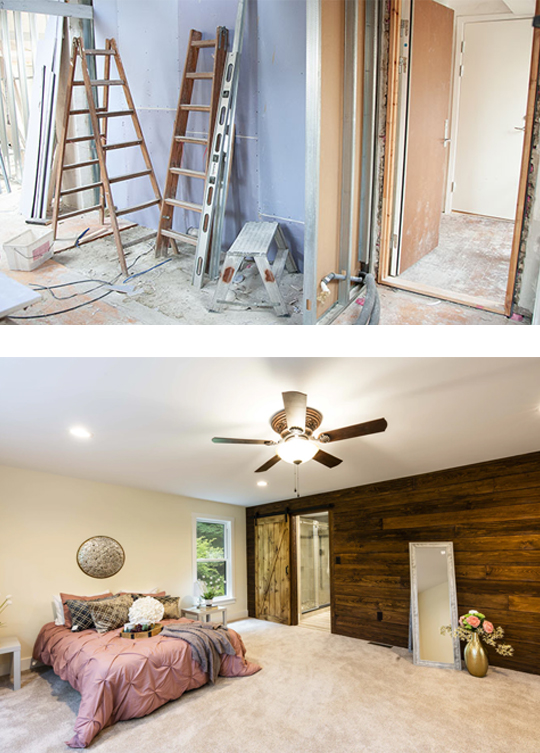
If you’ve been thinking about making some simple improvements to your home but were too busy, this could be the perfect time to tackle them. Any improvements you make to your home make it more appealing and valuable if you decide to sell it down the road, but in the meantime, you get to enjoy them.
These simple home improvements can usually be completed in a few hours or a weekend or two at most. It doesn’t have to cost an arm and a leg either to make changes that will make you fall in love with your home all over again.
Here are ten simple home improvement tips for your home that you need to know about.
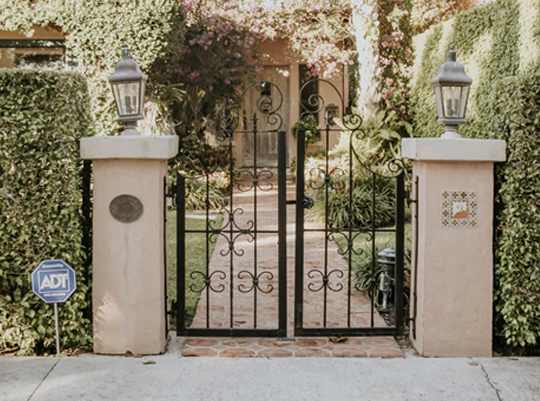
Make a New Path to Your Front Door.
Make it straight, let it meander, but make it new. Guests will love the visit even before going inside your home!
You have several options for the material, depending on the look you want and the cost of the material itself. Flagstone is typically the most expensive, but it is also the easiest to install. Other options for your new path include:
- Pea Gravel
- Crushed Granite
- Poured Concrete
Make it dramatic, formal, or romantic by adding complementary edging or plantings alongside your new path. If you have room, you could add a bench, a sundial, or statues, either formal or whimsical. Solar lighting is always a good idea, not only for decoration but for safety, too.
A general rule of thumb is to allow three feet of clearance in width for your new path. The cost of this project will run anywhere from $200 to $500 or more, depending on the materials you choose, the length of your new path, and how you accessorize.
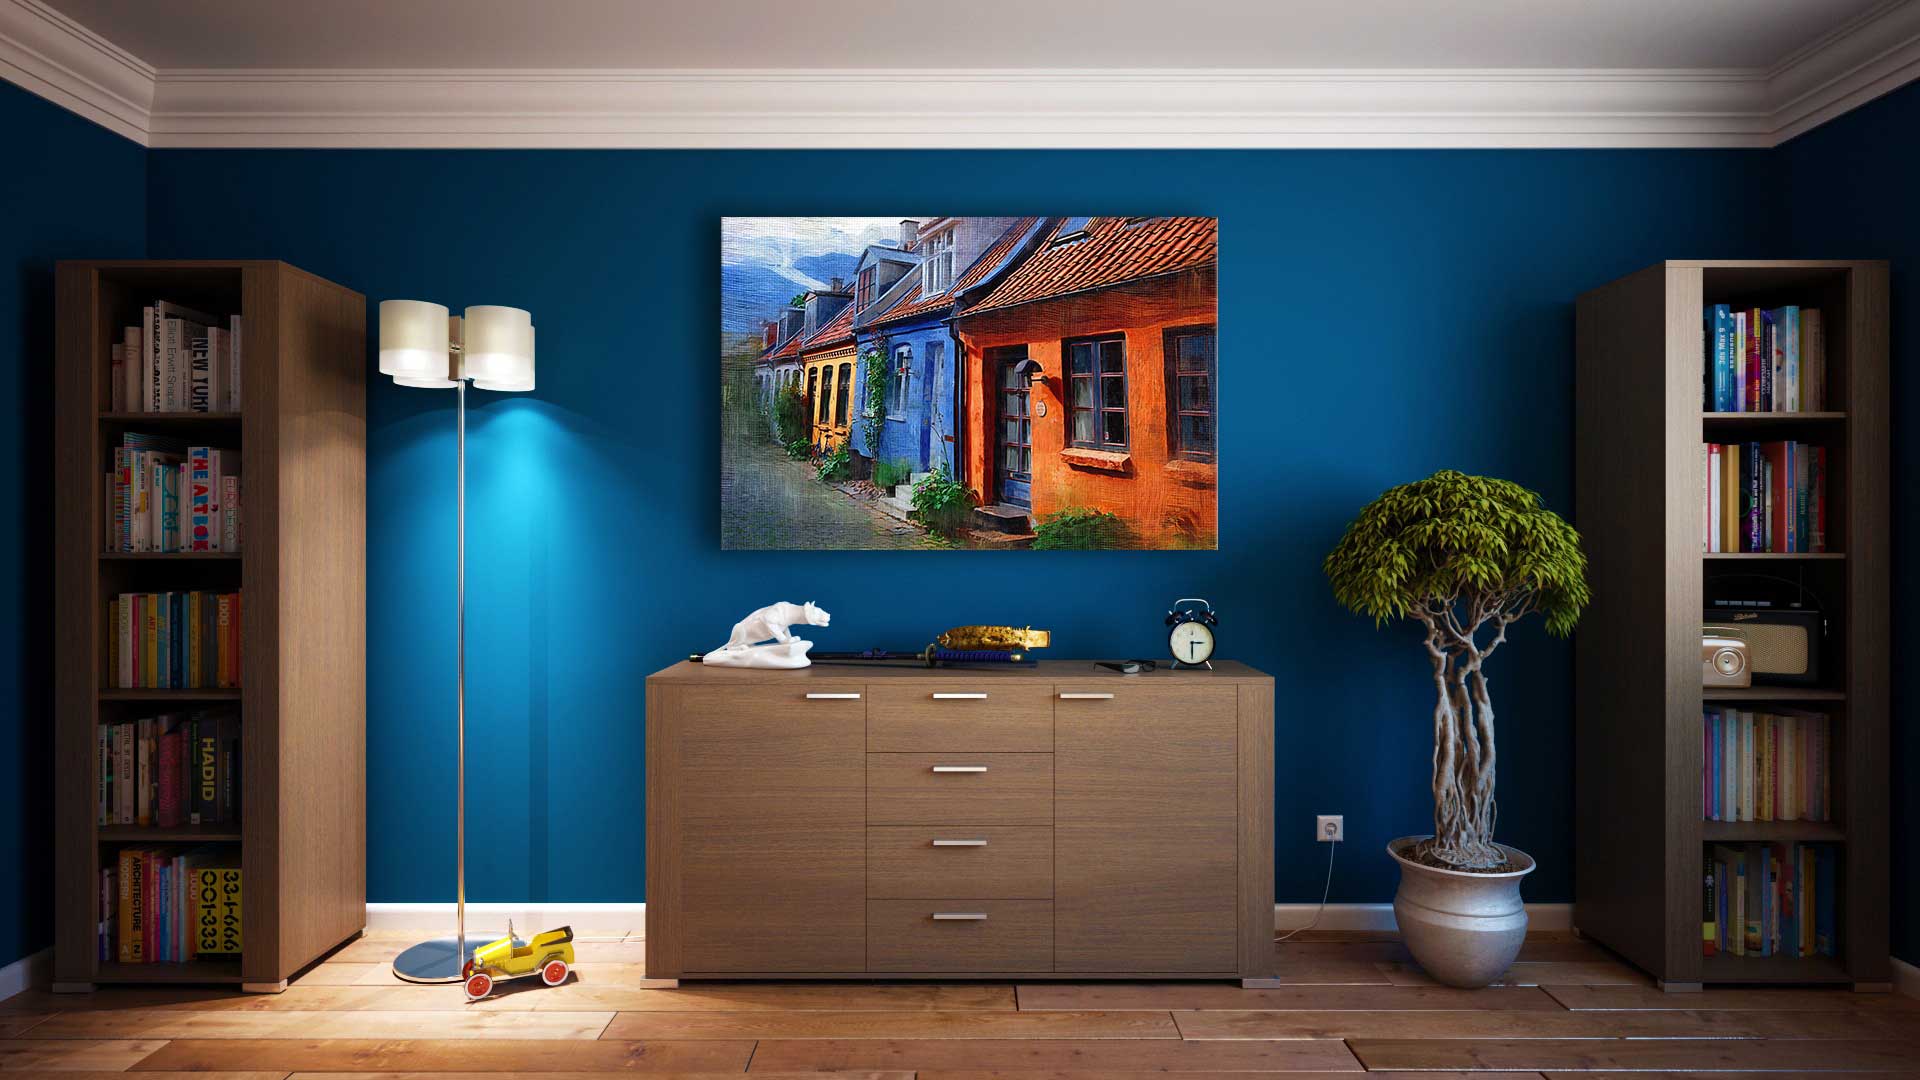
Create a New Foyer.
Decide on the first impression you want to give guests entering your home. Do you want a formal look? Or do you want more of a comfortable and welcoming feel to it? There’s no wrong answer, it’s your home, and you get to decide. Just keep your goal in mind as you choose accessories, colors, and patterns.
You don’t need a huge entryway; even a small area can be transformed into a separate, distinct area. An area rug will give it definition and clarity and is also practical, as it will help contain dirt and debris that gets typically tracked into the home through the front door. An area rug will also protect the flooring beneath.
Adding a bench or chair adds appeal and functionality, so people can sit to remove – or put on – boots and shoes comfortably. Add a couple of stylish cushions to create the look you want. If it’s a small area without a closet, add some decorative pegs to hang jackets or hats on as people enter your home. Large or small, your entryway needs a place for you to place your incoming mail, keys, change, whatever. Control the clutter in a decorative box or fancy dish set on a table or dresser, space permitting. For larger areas, consider placing a picture or two or a decorative mirror. Pay attention to detail here, and you’ll want to come home more often!
Freshen Rooms with New Paint.
This can be as simple as washing down the walls and adding a fresh coat or scraping down walls and filling in picture holes that have been there since you moved into your home 15 years ago. Whatever the case may be, pick a color scheme that works well throughout your home. Consider the flow from room to room and select colors and shades that uplift your mood or calm your spirits, depending on how you use the rooms. Paint can always be changed but try to pick a color scheme that you will be happy to live with for at least a few years. Get some color samples from your favorite paint store, bring them home, and live with them for several days. Solicit opinions. Look at them in different lighting and imagine what it will look like with the entire room painted in that color.
Get Creative!
You can also get creative, choosing one wall in the room as a highlight color that stands out, with the other walls in a more neutral shade. And while not technically paint, consider wallpapering one wall for accent. Look through magazines to get ideas, and then see what might work well in your home.
Painting over dark colors will take more priming and possibly more coats of paint. Keep that in mind for your current paint selection as well if you decide to go with a darker color.
As anyone who has ever painted a room will tell you, the hardest part of painting involves the prep work. They will also tell you that it is well worth taking the time to do it right. It will protect your furniture, floors, and windows, and make the actual painting job much easier and quicker.
It is amazing what a difference a new coat of paint can make in your home!
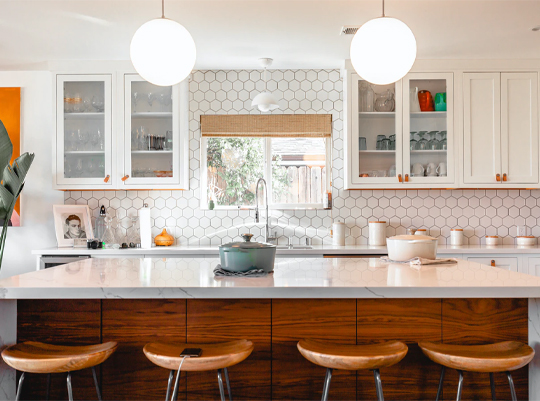
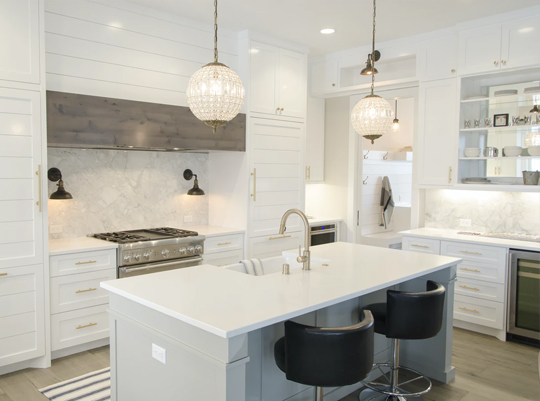
Add a Kitchen Backsplash.
Your kitchen is likely the most popular room in your home, so why not make it more functional and pretty? Adding a backsplash in your kitchen is a great way to control the inevitable splashing and spilling that frequently occurs on kitchen walls behind the sink and prep work areas. Because a backsplash covers a limited area, installation can be easily accomplished in a few hours. Likely the hardest part will be deciding on the material and pattern! This one addition can transform the entire look of your kitchen, as well as protect the walls and save you time and energy cleaning. Your first decision will be deciding on the overall result you want to project and whether you want your new backsplash to be an accent or to blend in with your kitchen’s background colors.
Materials

Some options for backsplash materials include:
- Peel and stick tile
- Ceramic tile
- Beadboard
- Tin tiles
You can also apply a new backsplash directly over the old one in most cases, or simply paint over the existing tile or drywall.This home DIY project can be completed from start to finish in as little as a couple of hours.
Re-Do Kitchen and Bathroom Caulking.
This home improvement tip may not feel very sexy or inspiring, but it will definitely add functionality. A fresh job of caulking around the kitchen sink, bathtub, shower, and bathroom sink will help protect your walls and floor, closing gaps and creating a smoother tactile and visual transition.
Caulking typically lasts around five years, but that can depend on how much moisture it is exposed to, as well as the quality of the caulk itself and how well it was applied. Caulking in a timely manner will prevent damage further down the road, saving you time and money.Caulking will also enhance the appearance of fixtures and add a subtle feeling of clean to your home. Choose the right kind of caulk for the materials involved and a color that blends from one area to the other.
——— ADVERTISEMENT – CONTINUE READING BELOW ———

If you have more ambition, you might also consider tacking the caulking around your windows, but that will naturally be a bigger task and take more time. Caulking around windows seals out moisture and drafts and helps keep your home cooler in summer and warmer in winter.
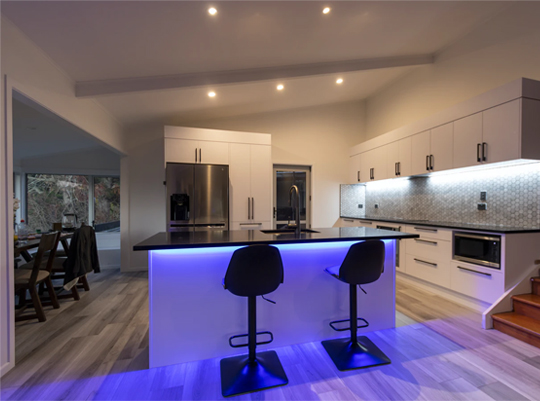
Upgrade Light Fixtures.
You likely have the same light fixtures in your home as when you first moved in. Upgrading the lighting fixtures throughout your home is one of the simplest ways to give your home a whole new look. Usually, brighter light is in order, but softening the lighting for cozy areas or adding dimmer switches to change the mood can be other great options.
When doing any kind of an upgrade to your home, it’s easy to want to choose what you like in the magazines. That is fine, but you will also need to visualize and honestly evaluate how it will look in your home. That light fixtures you absolutely love may be the wrong size or color, or not have the right wattage to get the effect that you are looking for.
Generally, you’ll want brighter lights in the kitchen, study, home office, and bathroom. Save the softer lights for areas you want to relax in, like the bedroom or a cozy nook.
So Many Choices
You also have the size and type of lightbulb to consider. Another consideration is whether or not you want to go with smart lighting that you can control remotely. The type, function, and look of light fixtures span a vast array, from recessed lighting to elegant chandeliers, and everything in between.
You can use a conversion kit to transform a recessed light into a pendant light. Or, you can use a wireless fixture that can be installed anywhere. This option is probably the easiest because you just remove the old light fixture and place the new one on top of the fixture mounting plate. Since batteries power this kind of light, you may want to use it in a smaller area.
It could also be as simple as adding a decorative lamp in the bathroom or bedroom, adding a little ambiance to an otherwise dark corner.
The lighting in your home has a significant impact on how your home looks and feels. You may want to have some rewiring done for any major work, but you don’t necessarily have to go that route to change the look and feel of every room.
And while you’re at it? Upgrade all the light switch plates and outlet covers to match your new lighting style. Switch plates come in every style imaginable, including hand-painted.
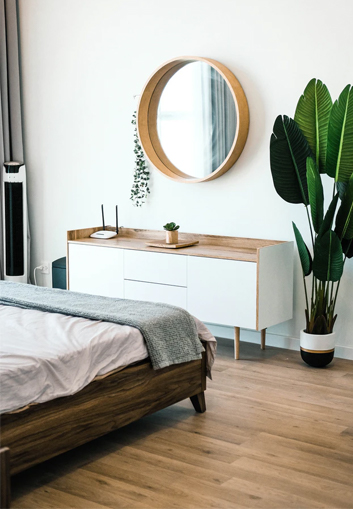
Decorate with Mirrors.
Using mirrors to decorate can be a brilliant strategy to not only decorate your home but also to increase the lighting throughout your home. Strategically placed mirrors will effectively double the available light by reflecting any existing light and magnifying it.
Mirrors are useful in large, bright rooms as well as in small, dark rooms. To increase the natural light, hang a mirror next to or directly opposite a window so it can capture all the existing light.If you have room for a mirror in your entryway, a large one will increase the lighting, make the area seem even bigger, and provide that all-important, last-minute check to be sure you are put together right before walking out the door.
Possibilities

When you decorate with mirrors, you are opening up so many stylish possibilities. Remember that mirrors come in frames, some very ornate, even gilded. Others look quite modern, while some have a country feel – you name it, and you can probably find it. The right frame can make a mirror a piece of artwork if well-chosen and well placed within your home.
Mirrors also come in an enormous variety of shapes and sizes, so don’t just stick with the traditional rectangular shape. Go big, go small, try a different size and shape that fits in with your home’s decor, and the size of the room itself.
You can also use mirrors to deceive the eyes, drawing attention to a focal point or away from something like an architectural flaw, anything you want or need to keep but don’t want to draw attention to.
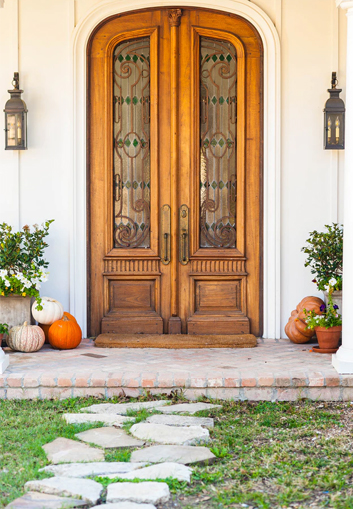
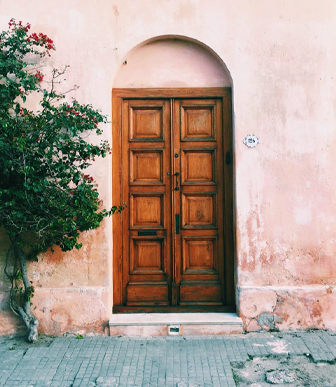
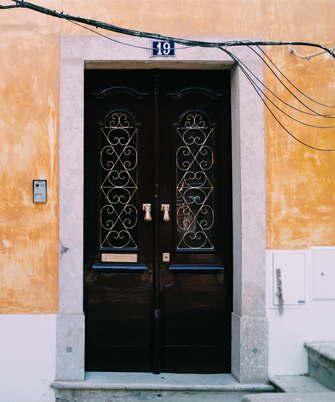
Accessorize Your Outside Entrance.
Depending on the amount of room you have to work with, you have loads of options to completely change the look of your home’s front outside entrance. You can dress up a small space in ways that make a big impact, and you can make any size entrance stunning while still fitting it into your home improvement budget.
The most obvious first step might be to replace your front door. Newer doors are more cost-effective because they insulate better than the old ones. You can get them with a plain or fancy window, see-through or opaque, or no window at all.
If you don’t want to go full out and replace your home’s front door, you can paint over the existing door to fresh it up or use a contrasting color to make it stand out. Replace the hardware, add a fancy, engraved door knocker, your last name; dress it up.
If your front porch is large, you could add a glider, a couch, or maybe a wicker set. You could also add real or faux potted plants – larger for the big spaces, smaller groupings for smaller areas.
Think outside the box!
Add decorative house numbers, a small mailbox, maybe a small planter attached to a wall by the door.
You can update existing lighting fixtures or add completely new lighting. Depending on the space you have to work with, your new lighting can attach to either side of the door or install a drop-down lantern from the porch ceiling. The fixtures you choose can be elegant, practical, or anything else you like.
Welcome mats come in an amazing number of styles, materials, colors, and messages. You can even have your family name or message imprinted on one.
Boot scrapers can add a bit of whimsy as well as an element of practicality, removing most of the dirt before entering your home.
Decide if you want classical, matching accessories for a formal, polished look, or mix and match for a unique, personal expression. Either way, you can give your home a completely new look by accessorizing your front entrance.
Polish Wood Floors.
Hardwood floors have a timeless appeal and classic beauty. They can be very expensive to install, so if you already have wooden flooring in your home, you are ahead of the game, even if they’re scratched up.
In general, for maintenance, hardwood floors should be polished once a year; more if they get heavy traffic.
Here’s how to revitalize your aging hardwood floor:
- Start by cleaning the room from top to bottom, just like regular cleaning. That way, when you’ve applied polish to the floor, dust and dirt won’t float down and ruin all your hard work.
- Vacuum or use a microfiber dry mop to clean off the top layer of dirt and dust. If using a vacuum, use the bare floor setting so that the beater bar doesn’t engage and damage the floor.
- Mop with either a spray bottle or the kind of floor mop that is designed for cleaning hardwood floors, working in small sections. You don’t want to use a regular mop as it will allow excess moisture to get onto your hardwood floor. Be sure to use an appropriate cleaning solution for your floor type.
- Once the floor is dry, you can apply a new coat of polish. This is an easy way to fill in small scratches and add a new protective layer to your floor.It’s an easy, quick way to get a brand new, beautiful floor.
Deeper Cleaning and Repair
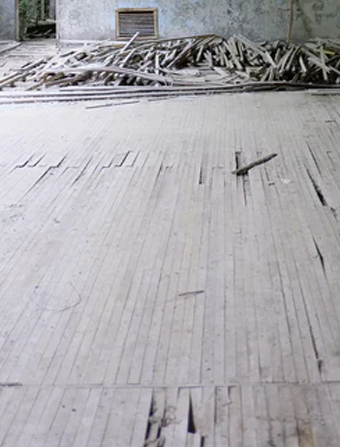
For deeper, more serious cleaning and repair to hardwood floors that have been ignored or damaged, consider renting a sanding machine at your local home DIY store. Plan to tackle this job over a weekend, as you will need extra drying time in between steps and coats.
Close off the room and be sure to wear an appropriate mask that will protect you from the dust that will be prolifically produced as you sand down the floor.
After sanding, you’ll need to vacuum thoroughly, and spray mop the floor down. Give it time to dry, and then you’re ready to stain and polish, letting it dry in between coats.
If you have wood floors hiding underneath your wall to wall carpeting, depending on the age and condition of the carpeting, you may want to consider ripping them up and restoring those old beauties to their original condition. You can always add a new area rug to dress them up as well as protect them when you are done, but then you may not want to hide their beauty anymore!
It’s good to know that realtors often quote a 100 percent return on investment for this home improvement tip.
Change the Plants Around Your Home.
Look at the outside of your home with a critical eye. Could it use some color? Some greenery?
Try planting brightly colored perennials that will come back year after year. Buying larger sizes of plants at a local nursery is always an option if you want to see immediate results, just remember that you pay extra for the nursery to take care of them as they’re growing.
Make it even easier by using planters. Basic terra cotta is always in style, but you can also choose planters in a wide array of colors and arrangements that add to the visual appeal.
Raised flower beds are another option to reduce weeds and raise the beds so that you don’t have to bend down so far when you tend to them.
Group clusters of planters together to add visual interest. You can vary the height and size of the planters and foliage for added appeal and variety.
You can also dress up your home and windows with window boxes. They add beauty, color, decoration, and depending on what you plant in them, they can attract butterflies or birds for you to watch and enjoy. You can buy them ready-made and painted in a wide variety of styles, sizes, and colors, or you can easily make them yourself.
You can fill them with overflowing flowers, vines, or scented herbs and let their delicious smell drift indoors on those beautiful spring and summer days.
Bottom Line
There you have it – 10 simple home improvement tips that can make a dramatic difference in your home.
These home improvements don’t have to be expensive or require a professional to do them. Better yet, most of these projects can be done in an afternoon, or a weekend or two at the most, depending on the extent of your project.
So, pick the one home improvement tip that appeals the most to you and get started on your project this weekend! You’ll be glad you did.